Blender Rendering And Ray Tracing Tips You Will Read This Year
A great choice for creating 3D visualizations to include videos, images and even real-time interactive video games Blender, is an open source fully-integrated 3D content creation package with cross-platform compatibility such as Linux, macOS, and MS-Windows systems, designed with an interface that uses OpenGL to deliver that consistent user experience.
Moreover, it can also be customized with Python scripts. Its wide variety of tools enables you to model, render, animate, texture, rig, and perform a host of functions. Along with its superior 3D architecture quality, makes Blender an attractive option.
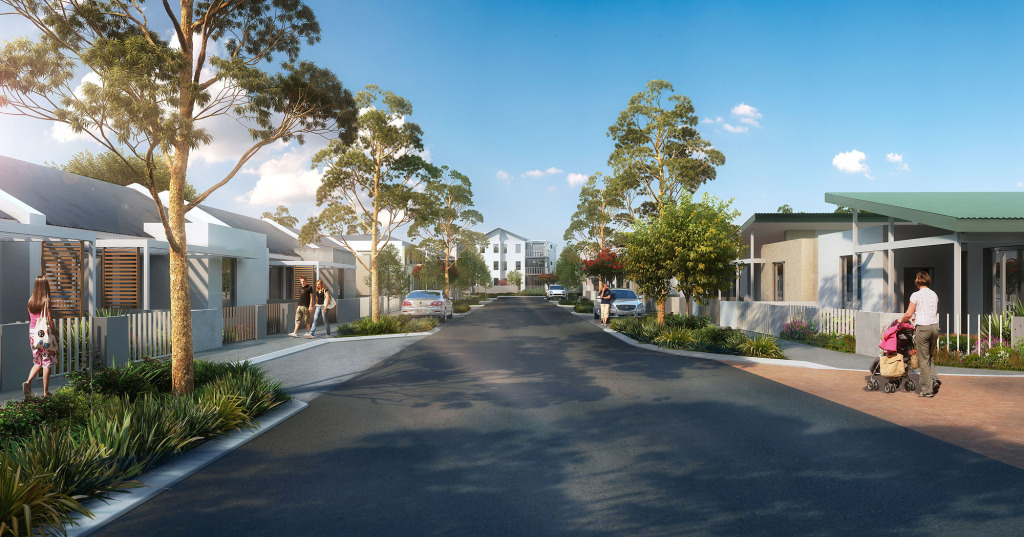
Its unified pipeline and responsive development process is perfect for small studios and even individuals who may want to use it as a hobby, commercial purposes, interactive systems including research. It does not occupy a lot of space and is portable.
In a world where technology overshadows the way we work, everyone wants a fast turnaround. So waiting for hours for animations to render is not an option. Understanding the little tricks of the trade will help cut-down the render times. By disabling a few options that you may not require while you are working on a particular scene can make a world of difference.
Ray tracing
Ray tracing a technique used for delivering a sense of high visual realism, produces an image by simply tracing its light path through pixels. However, little did you know that ray tracing magnifies the render times 10 times more. It just eats into your CPU. Depending on whether your project needs shadows, reflections and so on, you can choose to turn it off and cut down on your rendering time.
Next, pay attention to the sub-surfs that you have created. Subdivision surfing is a technique where a polygon mesh is used to deliver a smooth surface. Check your sub-surfs periodically, so you can discard those that are no longer relevant. Subsurface scattering should be used only for the final render. It has been proven that render times have been reduced 6 times over by disabling this feature. Used for generating smooth edges, the anti-aliasing option, enabled by default eats up time, Save it for the finale.
In 3D Animation process if your project does not need shadows, you can turn them off or set the Sampling including soft size and samples for all spot lamps to 1. This will save you valuable time while rendering. Next is Shading and rendering technique, known as ambient occlusion that delivers indirect shadows such as an overcast sky with diffused, dark shading in specific points. It is known for adding hours to your rendering time, So use judiciously.
Read also: V-ray 3d lighting, shading and rendering toolkit for all artists overview
Where you need constant testing, quick previews can be rendered using the Simplification option. Though blurry reflections are disabled by default, you can incur long rendering when the Gloss value is set to less than 1. Increase the tiles when rendering so the cores work on the render and disable traceable from the Materials section to save on time.
Finally, use the Bake option to capture all your data for lighting, shadows and so on, so Blender can capture it just once.

