8 Little Tricks To Achieve The Best Results In 3D Workflow
Architects, private builders, architect firms, construction companies, real estate developers are in the business of creating and selling property customized or designed to suit needs of customers.
This could be residential or commercial.
While traditional methods focused on manual blue prints, with advanced technology, firms today employ visualization studios that translate your plan into realistic visuals that enables customers to make informed decisions based on what they see.
Since 3D Visualization is already done for them, customers over the course of the walkthrough, can also explore other options such as modifications if required, color schemes, materials and have a thorough understanding of what the interior and exteriors will look like in the final physical deliverable that will be handed over to them.
However, this is not so simple since it involves a series of steps as part of the 3D workflow process that contribute to productivity and efficiency.
know your tools
To get started, whether you are a beginner modeler or an expert, it is important to know your tools. Read this – 3D Animation software collections for interior designing
So spend the better half researching and understanding the tools and interface you are going to work with for your 3D projects.
If your basics are not in place, then this affects the overall output since you will end up spending valuable time just navigating your way around.
3D References
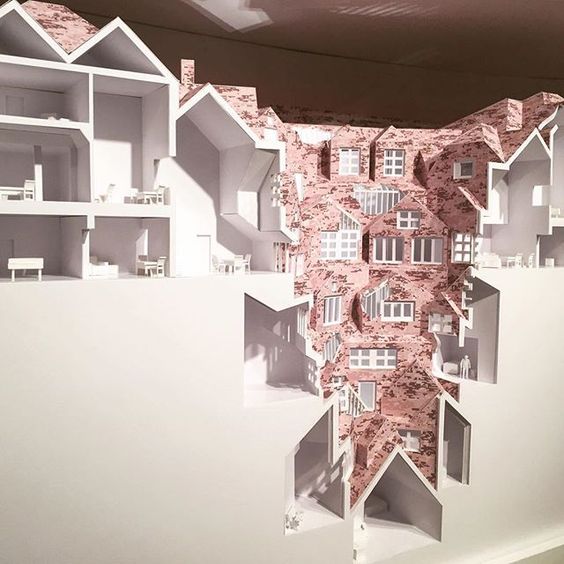
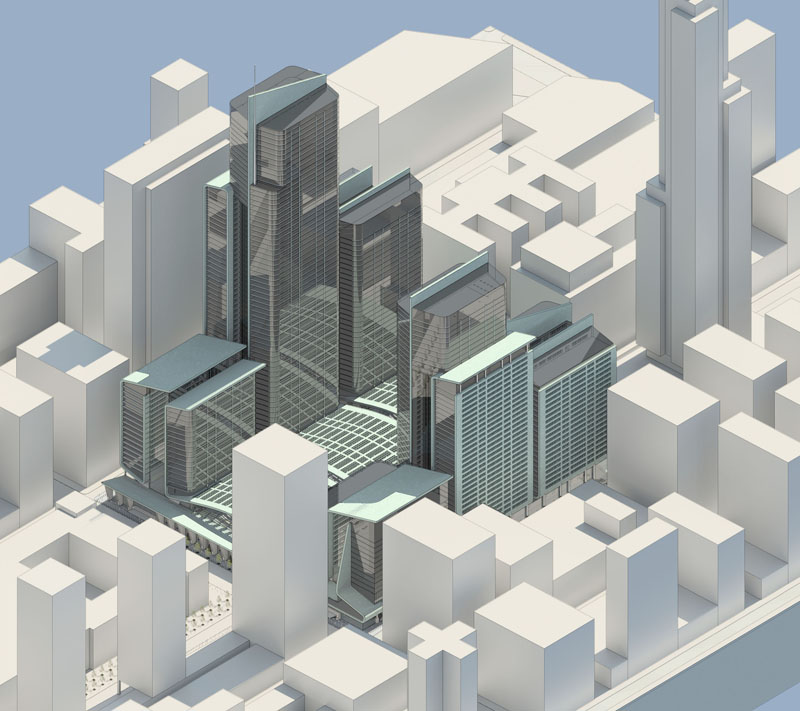
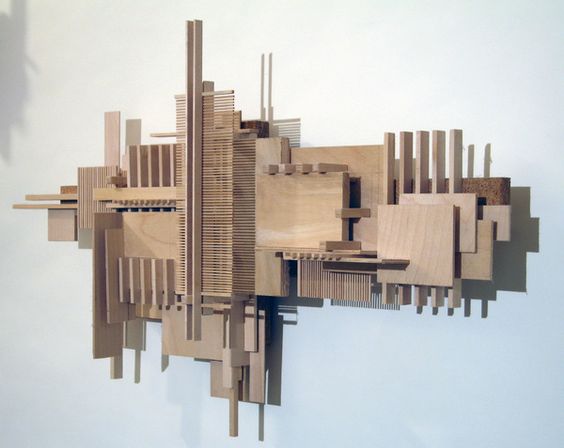
Next, gather as much as references as possible to include images, pictures and related documents such as PDFs, Autocad files and so on. More information you have, the better. Studying massing is a basic, but crucial aspect in architecture.
Read also: Best ways to utilize 3D Animations
In simple terms, it refers to studying an object in a three-dimensional perspective as opposed to seeing it as a basic form with an outline.
This has a great influence on the use of space that the building encompasses, both on the interior and on the exterior. Massing space helps you identify the best camera angles to highlight the space to your client.
Once you have this in place, think about refining the camera angles further.
3D Experiment
You need to experiment with your equipment and the space with which you are working, keeping in mind the client’s needs. Giving them a design for which they have no use hits productivity and overall, branding of your team.
So always remember the client’s requirements for which you are designing the visualization.
3D Modeling
During the modeling phase, using the references such as 3D floor plan, elevation, sections, draw up the geometry of the space to exact measurements. Draw up the walls moving on to the windows, ceilings and floor getting the basic structure in place.
Realistic 3D Texturing
This is followed by texturing to give the space a realistic feel along with the right lighting, using the material nodes feature. Choice of lighting is important, such as photorealistic or ambient occlusion including renders that could be biased or unbiased.You can opt to give low resolution pictures for approval and then translate them into final images.
Otherwise, you fast-forward to create a test render of the proposed design to identify any changes or improvement before sharing it with your client for approval.

