The Complete Beginner’s Guide to 3D Texture (Geologies)
What are the ingredients for creating those smooth, sci-fi, urban, all natural, stylized textures?
As with any project, the basic starting point is ensuring you have a crystal clear understanding of the requirement. To create any substance, you can get organized by listing all the materials required first and put together the base for each. The transitions and the masks have a far more important role to play since they enable the transformation. For this you must also understand how the materials blend with each other.
Height, environment and weathering are three aspects to consider while blending. Once you have the overall picture in place, then you can break it down into smaller parts, something similar to a work-breakdown-structure in project management. The rationale is the same.
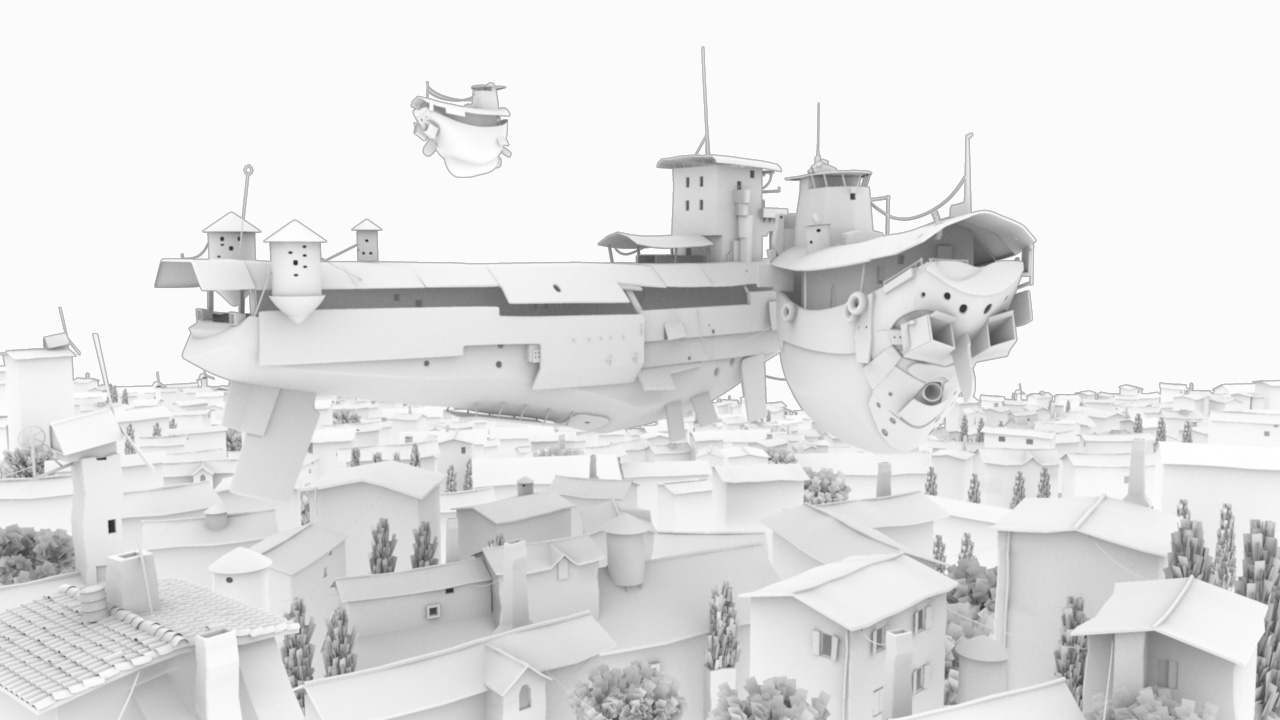
Ambient Occlusion
Building 3D Animation structure and order and then culling into the details. So here to blend it well, it requires further information such as a curvature map, height map or visual effects such as ambient occlusion, which was used in the movie Pearl Harbour. Using this feature, you can create an effect of leaks and stains on the exterior.
Let’s take weathering, where paint on metal is peeling off or is coming off in flakes. To get this right, you need all the information on curvature, world space normals. If on the other hand it is a puddle in a muddy area, then you need information on the height.
Next is the kind of environment you need such as rain, thunder or snow, even scattered leaves due to a windy, stormy weather outside. The more accurate information you have in the beginning, the better for you since you will have to develop all these along with the main map. Should you want to edit or modify the map, then there is a very good possibility that this will result in compromising accuracy and may end up with some peculiar masking.
Read also: Blender rendering and ray tracing tips you will read this year
Having a few solid base shapes to develop on is a good way to get started from which you can develop other patterns such as blending geometrical patterns. Make notes as you go along with what worked and what still needs to be worked on. This gives you a clear idea of what blending works and effects that you can expect.
Next, based on your conceptualization, you must create a nice tools library such as using a pixel processor to blend two materials established based on height.
Optimize early into the game. As you refine more and more you will find that the resolution optimization time drops by atleast 4 seconds, from what originally took 13-15 seconds. Remember, a full resolution node enhances processing time! Building an extensive skeletal model for the design you have in mind can help you open up more ideas.
For the color base, always start off with a gray scale and using a gradient map, you can build your base colors.

A histogram scan if used intelligently can help you extract a mask from a gray-scale. Similarly for different textures, different use of transform nodes, patterns, multiple sub material for different terrains will do the 3D Animation job.