Useful Tips From Experienced ARCHITECTURAL VISUALIZATION Practitioners
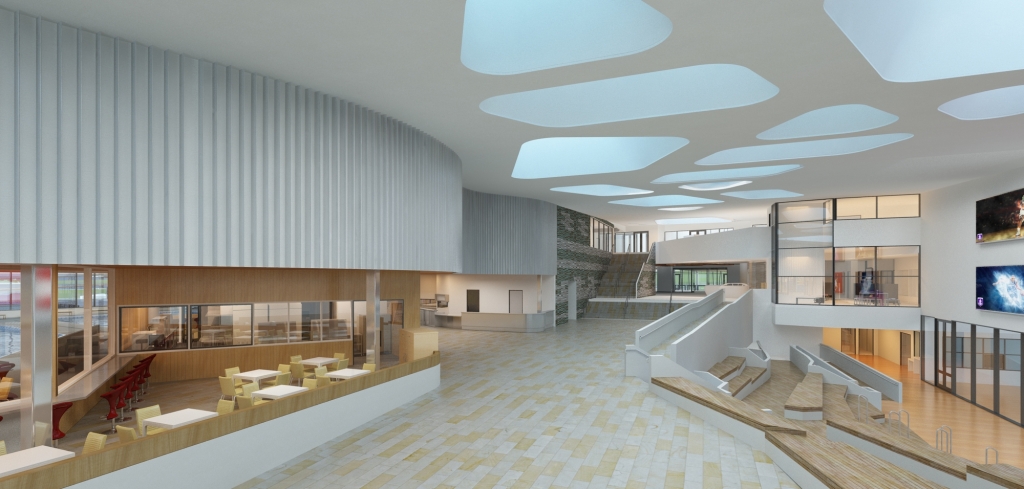
Architectural visualization is much in demand today, especially with designers strapped for time inspite of sophisticated software available in the market.
3D architectural renders are essential for any project today and offer a competitive edge in the business with their visual treatment. AutoCAD is one such powerful software that enables designers to create 3D models within their 2D images synchronously. Knowing the advantages your software offers is critical. Without a strong foundation in the basics, it can be a frustrating experience.
Designers can improve their turnaround time to create a 3D model for rendering by observing a few tips such as creating 2D and 3D models synchronously rather than create them separately, which is very time consuming, which was the disadvantage with earlier tools such as CAD. An immediate benefit of creating visualizations directly in 3D is the opportunity for immediate feedback during the early phase and further it can even be used by artists or by architects.
Modifications are also easier to implement and does not take up a lot of time and effort. While generally 3D applications such as lighting and texturing work well with some of the CAD programs, if you know your software well, you will find that there are usually a few file formats that lend themselves to cross-platform support to alter models in 3D applications.
If you are not comfortable with CAD or do not have enough working experience, it is not a show stopper.
There are alternatives to consider such as poly-modelling with software such as Cinema 3D to quote an example.. However keep in mind that this not as easy to use as CAD. While the former is less flexible, the latter is much more fluid where lines can be converted easily to a polygon using the application while using the former offers far greater control, a good advantage to enjoy during the rendering process.
Read also: Significance of 3D architectural renderings for high rise buildings
Texturing and application of the appropriate material has a huge impact on rendering. You need to pay attention to the accurate scaling, requisite quantity of texture tiling, accurate positioning and orientation and a host of effects one can apply to heighten the sense of realism.
In that sense, to create that sense of life-like similarity, 3D designers must also be open to imperfections and effects such as weathering one is bound to find on objects over time. While applications give a squeaky clean output, designers should consider colour variations and slight bump mapping on reflective surfaces to create the element of authenticity.
As far as material creation is involved, it primarily depends on the quality of application in use, but with basic rules in place for a quality output.
For instance, colours and textures should not exceed a brightness value of 80 percent, else your rendering could look improbable. Similarly for dark value, brightness values should not go down beyond 10 percent.
Last but not the least keep researching. The Internet offers tons of materials on the subject including information on determining the best refractive and reflection values of materials in use.


